|
Replaces Arkham Asylum DLC suit 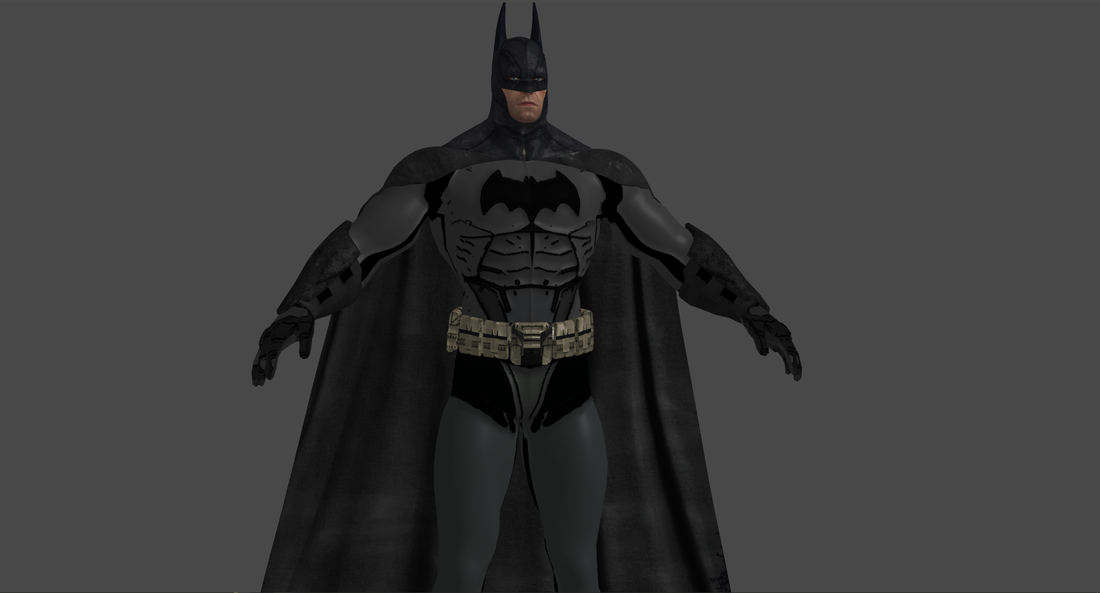 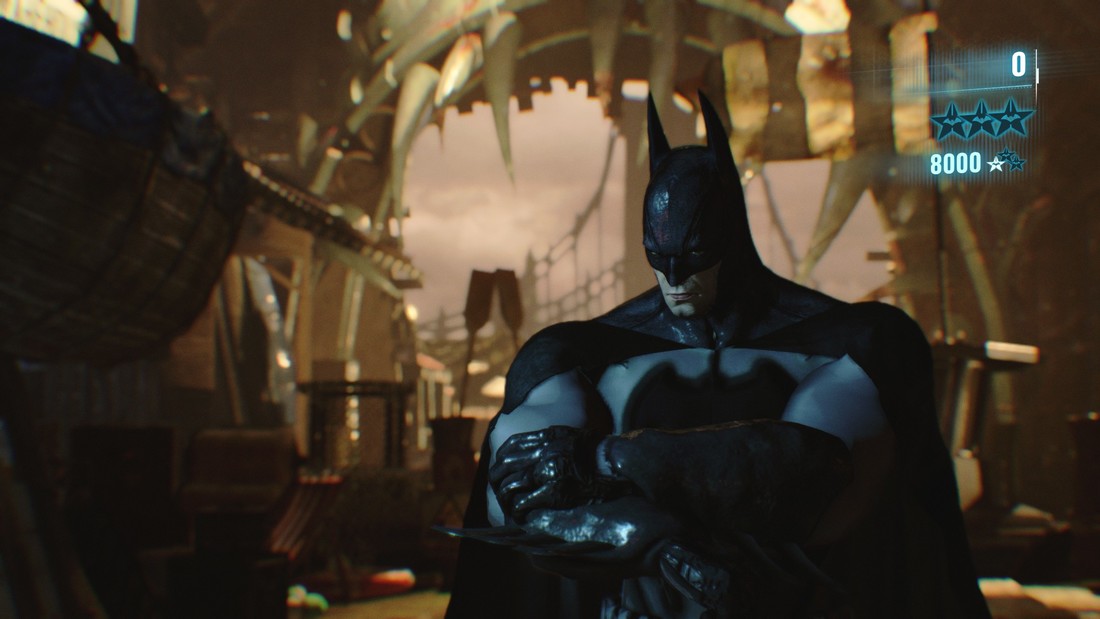
0 Comments
I have started working with a small team of 4 people on an independent horror movie using our own special effects with as low of a budget as possible. It is my job to make the CGI and promotional material. I have taken it upon myself to recreate the TARDIS I did for my Game Art Level 2 course in more detail, as I have learned new techniques and wanted to look at alternate ways of making the TARDIS. So far changes include: Redone console base: Separated into two parts, one being from the walls, up to the ceiling and back down to make the top of the console. The other being the base, starting with a sphere and extruding each side separately. Redone floor: The floor is no longer connected to the bottom of the shell but is instead its own object with a full polygonal floor instead of just being a blank texture. Redone roundels: The roundels are no longer a part of the shell and are instead their own mesh, they have been positioned one by one in Unreal so that they also no longer hover in mid air and are attached to the wall this time.  Designed to be a future mod for Fallout 4 and planned to be released for Xbox 1 and PC.  I have made a model of Captain America's shield in Maya. I have created it by using the cut tool to make the star and made my own texture for it in GIMP.  Since it's not the end of the year I have decided that up until september I will try my hand in character and environment modelling for Fallout 4 mods, starting with an Iron Man mod. This mod will be very ambitious and hopes to create all of the Iron Man armours and put them into Fallout 4. I have started work on this and have made an arc reactor which will go onto the character's chest. It will improve health and AP regeneration, as well as make it so your power armor no longer needs fusion cores. 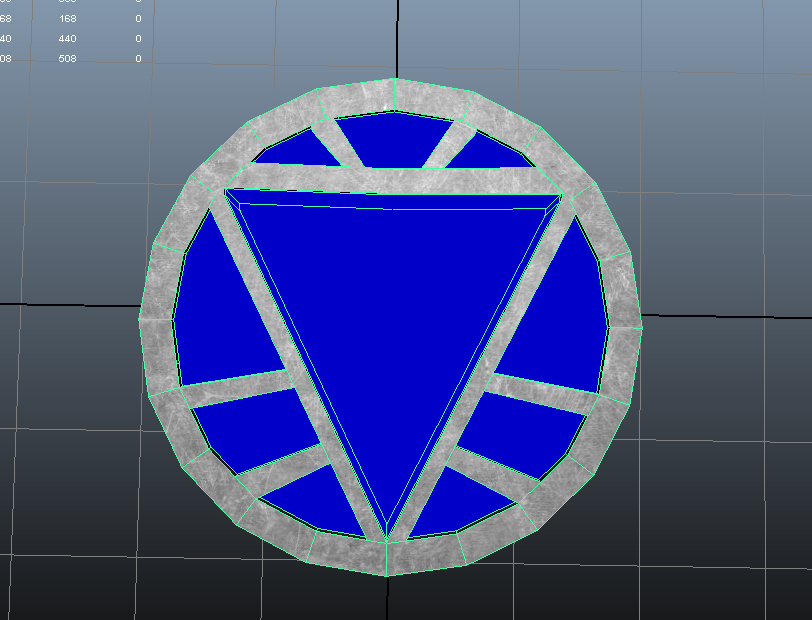 I've made some more progress on my 3D modelling, making more work on my TARDIS. I have also made a little more progress on my unit 7 work. I'm still struggling a little bit on my pixel art, however I hope to have that sorted relatively soon.
We worked with Unreal Engine, using the tools to create a study for our level. To do this we used BSPs as well as files obtained online. We had to create the folder structure on our desktop and then do the same folder structure inside of Unreal in order to make managing our level's assets easier and more efficient.
PLANAR MAP wraps around objects by flattening it into x and y and taking a picture of the flattened object, piece by piece from above and below. to edit UVs go to edit UV's and select the bottom option to remove UVs go to polygons and the option is near the bottom of the screen go to create UV and click plannar mapping (square) keep image height ratio on ALWAYS keep on bounding box as best plane is just a flat version of the object, best used for concept art project axis make take tinkering as bounding box may not always fit. CYLINDRICAL MAPPING wraps around the object, useful for cylinder shapes however needs to be JUST the part going around, not the top faces. UV TOOLSET use flip tool to the left of the scissor tool use the shell tool to allow you to move the whole face quickly always make sure the white and blue boxes are ALWAYS on Here is a barrel I created using said UV tools, PLANAR for the top faces and CYLINDRICAL to go around 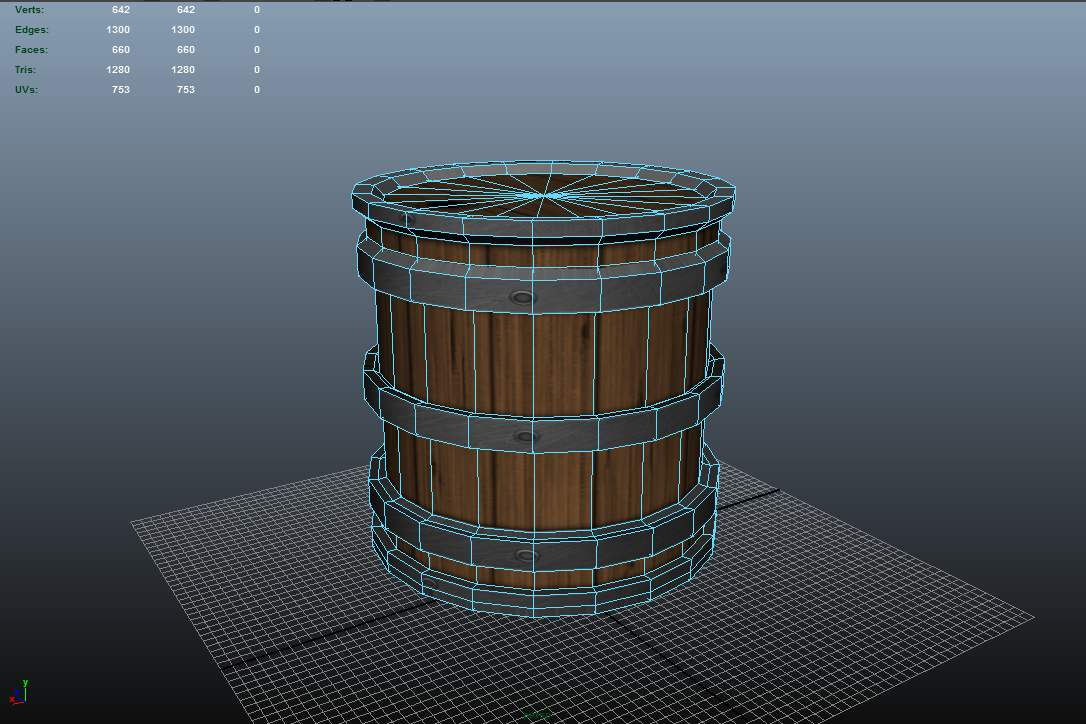 Here is the UV map which went around it. 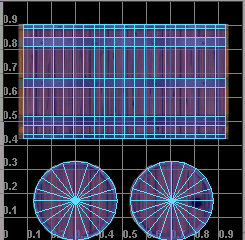 |